
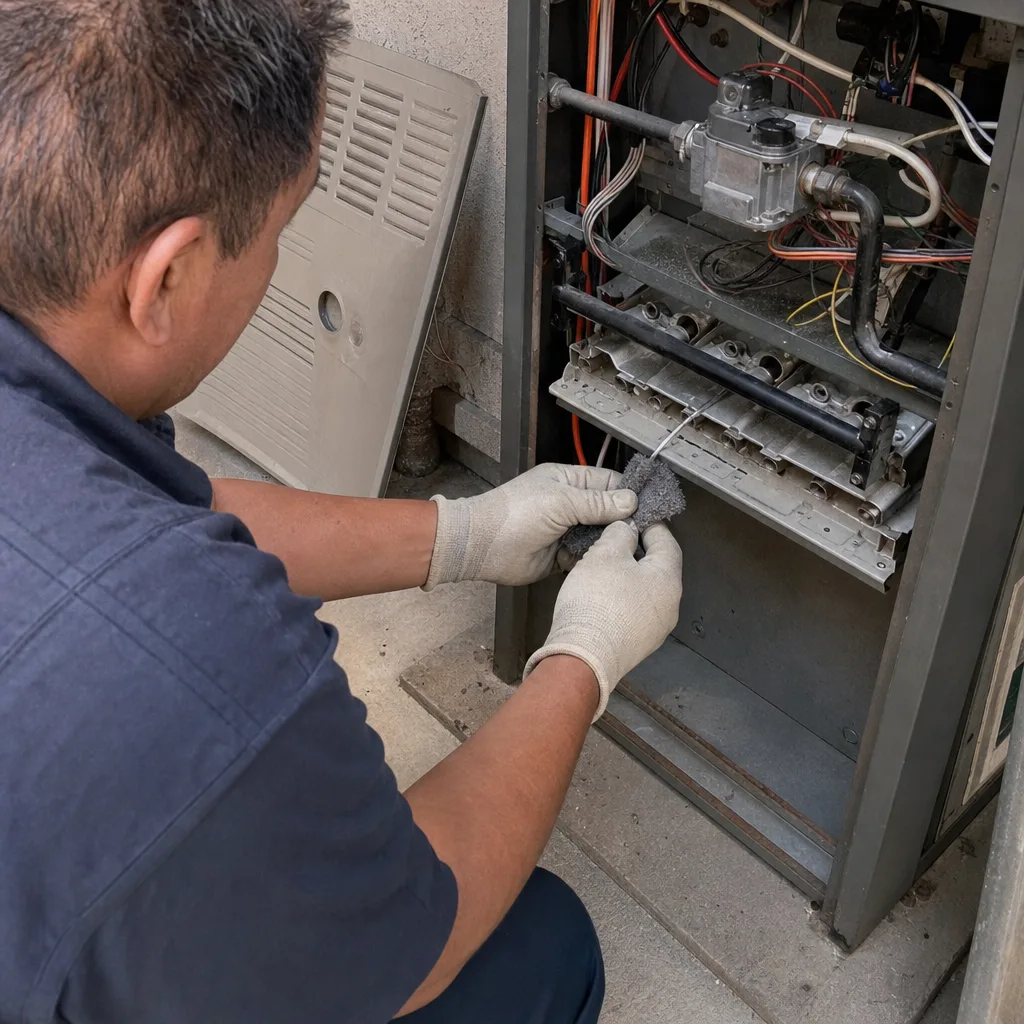
Last updated November 15, 2026
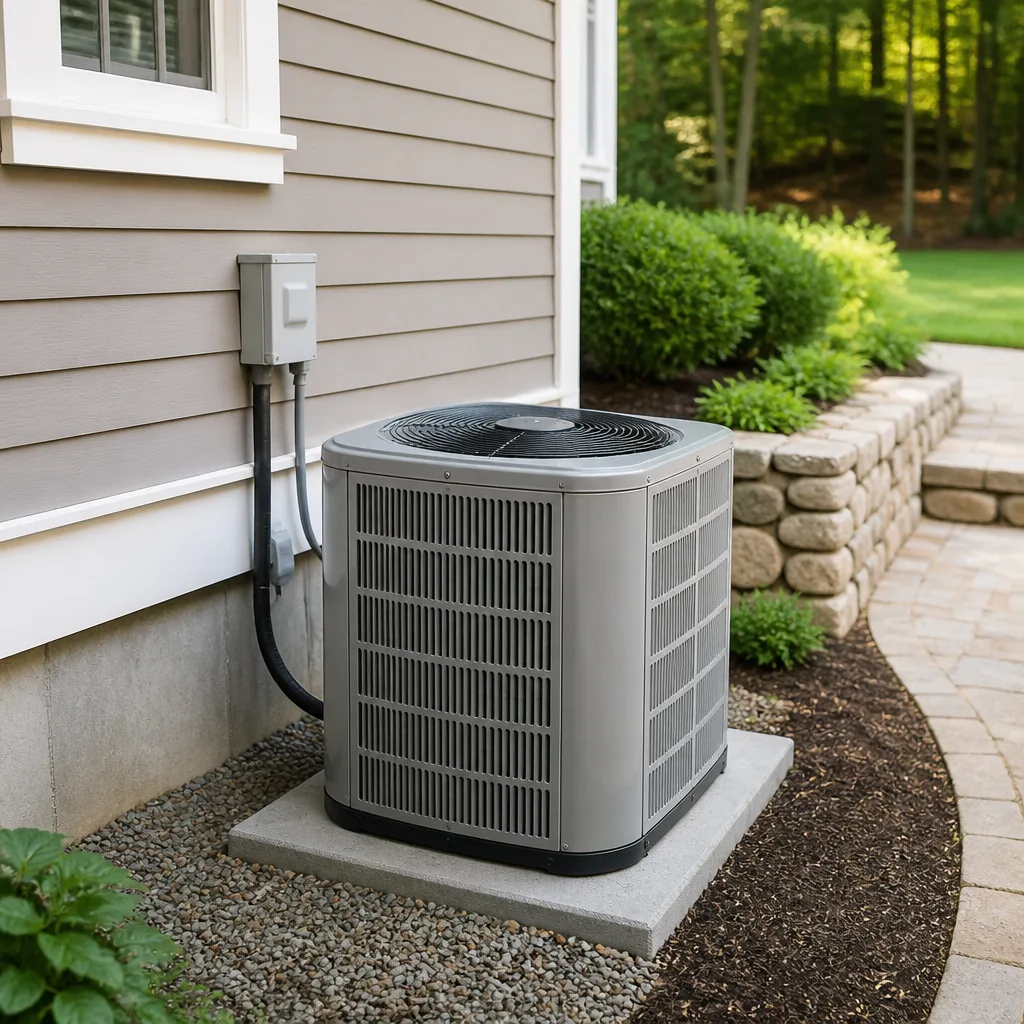 AC repair
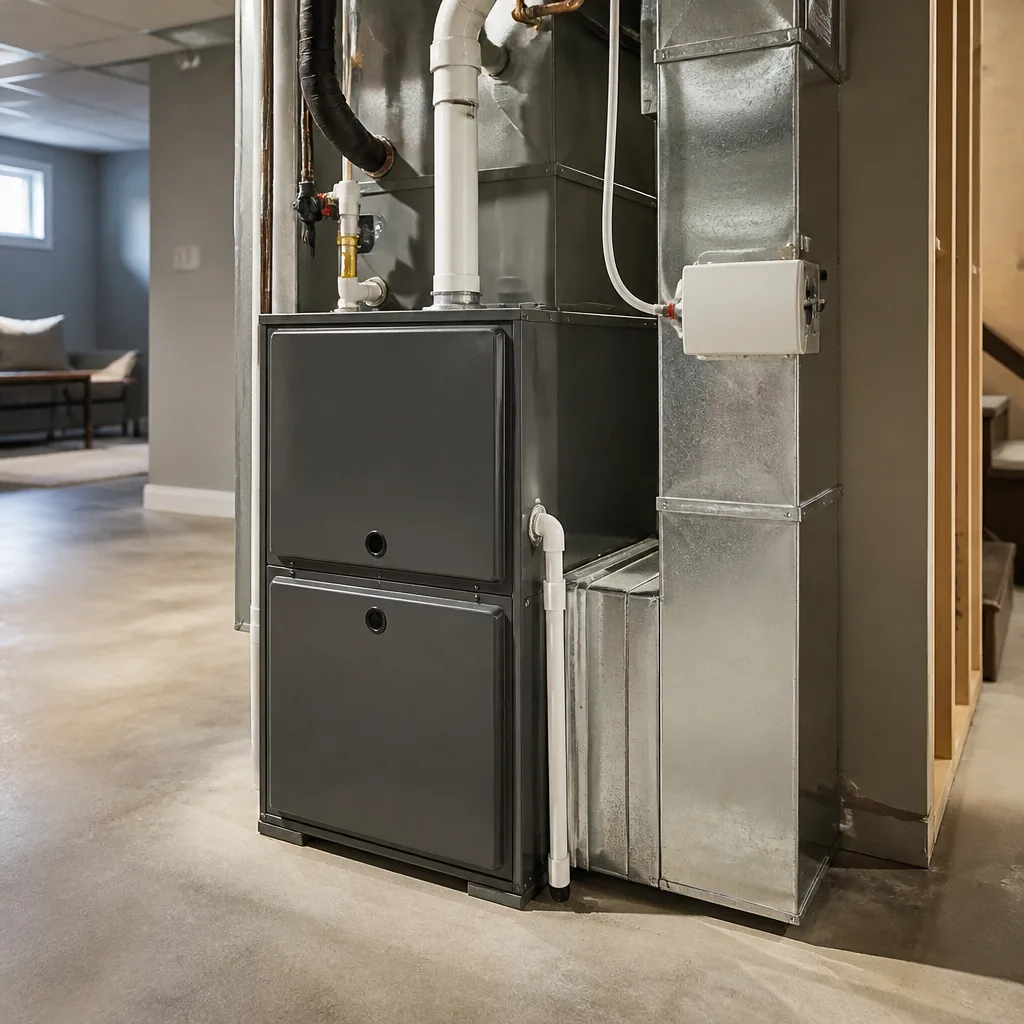 Furnace & heating
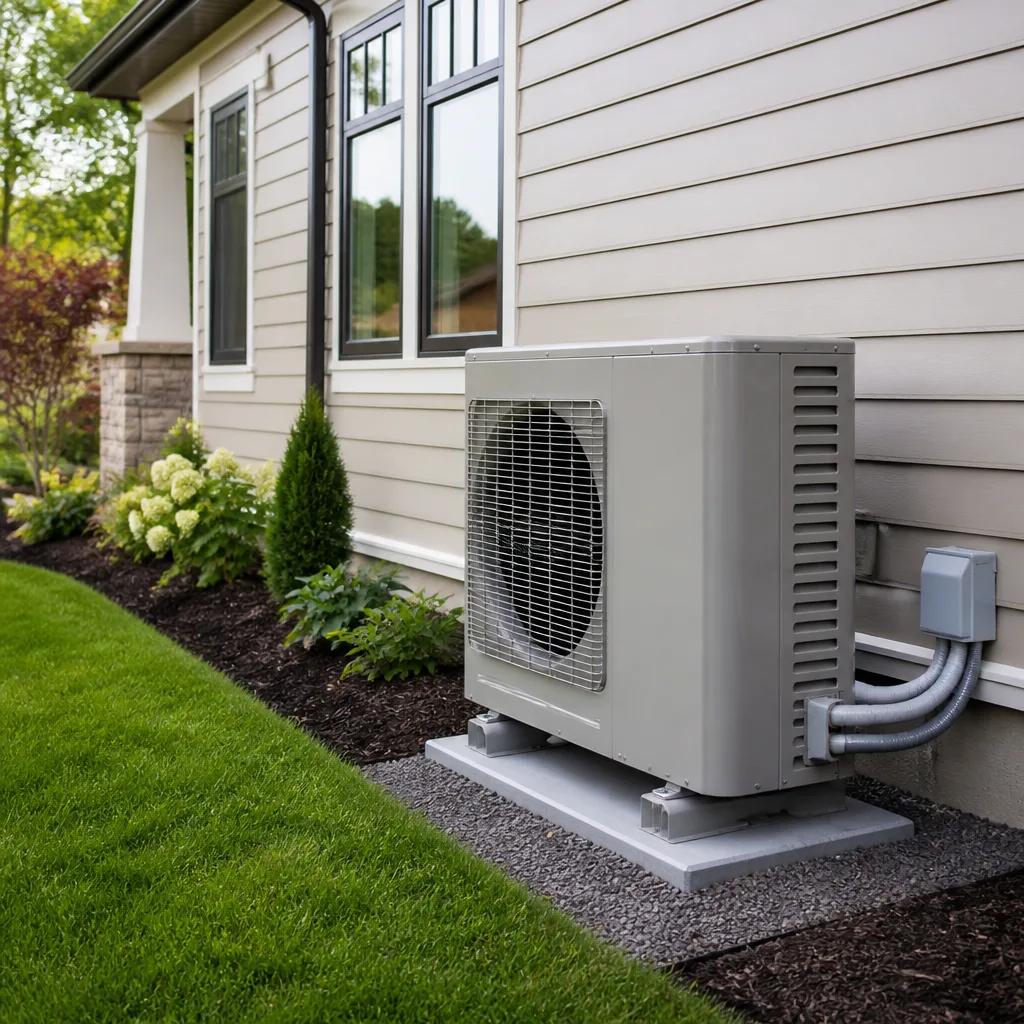 Heat pumps
 Ductless mini splits
 Carrier
 Trane
 Goodman
Seasonal tune-up and full diagnostic on your Carrier, Trane, or Goodman system - readings shown to you before any repair is proposed
Diagnosis first, numbers second - you approve the repair price before a single part goes in.
Get your free estimateAC Installation Troubleshooting in Sugar Land: Common Problems and How to Fix Them
If your brand-new AC is running constantly but the house won’t get below 78°F during a Sugar Land afternoon, the unit probably isn’t broken. More often than not, the installation has one of three specific flaws, and every one of them is fixable. That’s the frustrating part of new-system trouble: the equipment is under warranty, the contractor just left, and the house still feels wrong. Here’s what we want you to take from this guide: you don’t need gauges or years of training to sort a real problem from noise. You need to know which symptom points to which mistake, so you can call your installer with specifics instead of a vague complaint. We’ll show you the symptom-to-cause map, a stopwatch refrigerant test, why Sugar Land’s soil matters, and the exact questions to ask before you agree to any charge on a system still under installation warranty.
Quick Answer
Most AC installation problems in Sugar Land trace back to three installer errors rather than equipment defects: an oversized unit that short-cycles, a refrigerant charge that was never verified, and duct leakage introduced during the install. Check the symptoms first (short cycling, high humidity, uneven rooms), then run the stopwatch test below, then call your installer with the specific finding. A properly installed system should hold your setpoint through a Sugar Land heat wave without running nonstop, and any genuine installation defect belongs on the installer’s invoice, not yours.
Styles & brands we work with
- AC repair
- Furnace & heating
- Heat pumps
- Ductless mini splits
- Carrier
- Trane
- Goodman
Table of Contents
- Symptom-to-Cause Map: What Your New AC Is Telling You
- How to Check Refrigerant Charge With a Thermostat and a Stopwatch
- Why Clay Soil Shifts Your Condenser Pad (and What a Tilted Unit Does)
- High Humidity After Installation: Coil and Airflow Problems
- Uneven Room Temperatures and Duct Leakage
- Questions to Ask Before Agreeing to a Service Call Charge
- Homeowner vs. Installer: Who Pays for What
- When to Call a Professional
Symptom-to-Cause Map: What Your New AC Is Telling You
A new air conditioner rarely fails in a dramatic way. It tells you what’s wrong through a small set of repeatable symptoms, and each one points to a specific installation decision. Learning to read them is the difference between a productive call with your contractor and a series of “it just needs to settle in” visits that never solve anything.
Here’s the mapping we use when a homeowner calls us about a freshly installed system in Sugar Land. Match your symptom to the likely cause first, and you’ll know what to ask about.
- Short cycling (unit kicks on and off every few minutes): almost always oversizing. An installer who sizes by square footage alone, rather than by a room-by-room load calculation, will put in a unit too big for the house. It cools fast, satisfies the thermostat, shuts down, and repeats. You get temperature swings, excess wear, and a system that never runs long enough to remove humidity.
- High indoor humidity (house feels clammy even at the right temp): a coil or airflow problem. A system that’s oversized, or one running with restricted airflow, can’t stay on long enough to pull moisture out of the air. In Sugar Land’s humid summers, that shows up fast as a sticky, uncomfortable house.
- Uneven room temperatures (some rooms cold, others warm): duct leakage or a balancing problem introduced during installation. New ductwork that was cut, tapped, or joined poorly during the job is one of the most common hidden culprits.
- Running constantly but not reaching setpoint: low refrigerant charge, restricted airflow, or a return that’s undersized. This is the “brand-new AC can’t get below 78°F” complaint, and it’s the one that deserves the stopwatch test below before you call anyone.
- Ice on the indoor coil or refrigerant lines: low charge or a severe airflow restriction. Turn the system off and call your installer; don’t keep running it.
Notice that none of these are “the compressor is bad.” On a new system, the odds strongly favor the install over the equipment. When we look at a trouble call on a recent installation, we start with sizing, charge, and ductwork because that’s where the mistakes live. The brands you’ll find under these careful installations are the workhorses: Lennox, Goodman, Rheem, and York systems all behave the same way when they’re set up wrong, and all of them perform beautifully when they’re commissioned correctly. The equipment is rarely the variable. The installation is.
If you’re mapping a symptom right now and want a second opinion on what the install should have delivered, our team handles AC installation across all nine of the major manufacturers we service, and we’re happy to explain what a correct commissioning looks like.
How to Check Refrigerant Charge With a Thermostat and a Stopwatch
You don’t need manifold gauges to find out whether your system was charged properly at installation. A thermostat and a stopwatch will tell you most of what you need to know. The method works like this: if the system is charged correctly and airflow is adequate, it should produce a steady, predictable temperature drop between the return air and the supply air, and it should hold your setpoint through a hot afternoon. If it can’t do either, something is off, and that’s your evidence for calling the installer.
Here’s the process, done safely from the thermostat and a thermometer you can buy at any hardware store. It is not a substitute for professional commissioning, and it does not involve touching refrigerant lines or opening equipment. It’s an observation test.
- Pick a hot afternoon. The test is most meaningful when the outdoor temperature is above roughly 90°F, which is most of a Sugar Land summer. Choose a time when the house has been closed up and the blinds drawn for a couple of hours.
- Set the thermostat low and hold it. Set it to a temperature the house should easily reach, say 72°F, and make sure the fan is in AUTO, not ON. Note the time.
- Watch for continuous run. Start your stopwatch. A properly sized system should run continuously for a stretch, cooling steadily, and reach setpoint within a reasonable window. If it runs 45 minutes to an hour without getting close, and the indoor temperature plateaus at 78°F or 80°F, that’s a red flag.
- Measure the supply air. Use a simple stem thermometer at a supply register and note the reading. Then check a return grille. A healthy system produces a meaningful gap between return and supply. If the gap is small, or the supply air is barely cooler than the return, the system isn’t conditioning the way it should.
- Record the plateau. Write down the outdoor temperature, the setpoint, the indoor temperature the system can’t beat, and how long it ran. That record is your ammunition. “The system runs continuously and won’t get below 79°F on a 95°F day” is far more useful to an installer than “it doesn’t feel cold enough.”
- Check for short cycling separately. If instead the unit runs two or three minutes, shuts off, and repeats, note that pattern too. Short cycles plus a house that never quite gets comfortable points toward oversizing, not charge.
Why does charge matter so much on a new install? Because a system that was never properly commissioned, or one that lost charge through a joint that wasn’t tightened or a line that was kinked, will run long, cool poorly, and eventually stress the compressor. Low charge on a brand-new system is almost always an installation issue, not a factory defect, and it belongs under your installation warranty. If your stopwatch test shows the system struggling, say so plainly and ask the installer to verify the charge and the airflow at the next visit. That’s a conversation you can have from the evidence you just collected.
Why Clay Soil Shifts Your Condenser Pad (and What a Tilted Unit Does)
Sugar Land sits on expansive clay soil, and that soil moves with the seasons. It swells when it’s wet and shrinks and cracks when it dries, which is exactly what we get through a hot, dry stretch. Your outdoor condenser sits on a concrete pad resting on that soil. When the ground moves, the pad can tilt, and a tilted condenser is a slow problem that most homeowners don’t notice until it costs them a compressor.
The outdoor unit is designed to sit level. Inside it, the compressor is mounted on springs or bushings and relies on a level, stable base to run the way it was engineered. A pad that tilts even slightly changes the oil distribution inside the compressor and loads the bearings unevenly. That doesn’t cause a failure in a week. It grinds a system down over years. Combined with the vibration of an outdoor unit, a settling pad can also loosen refrigerant line connections and strain the electrical connections at the disconnect box.
Here’s what to check, and it takes about a minute:
- Stand back from the unit and look at the top of the condenser relative to the ground or a nearby fence line. Does it look level, or does it visibly lean?
- Look at the pad itself. Are there cracks, or a gap between the pad and the soil on one side? Is the slab sitting proud of the dirt on one corner and sunken on another?
- Check the refrigerant lines where they enter the wall. A shifted pad can pull or kink them. If they look strained, stop and call a professional.
- Wash out the coil fins gently with a hose on low pressure, aimed from the inside out. Dust and pollen collect in Sugar Land’s outdoor units and cut efficiency; keeping the coil clean is the homeowner’s part of the deal.
If the unit is visibly out of level, don’t wedge a brick or a piece of wood under it. A genuine pad correction means lifting or resetting the base, which is a job for a technician. It’s also exactly the thing to flag while the system is still fresh, because a settling pad is a physical condition, not an equipment defect, and the sooner it’s addressed the less load the compressor carries over its life. Ask your installer whether they’ll check pad level as part of the installation warranty. A serious crew will.
High Humidity After Installation: Coil and Airflow Problems
A new system that cools the air but leaves the house feeling sticky is not working correctly. In Sugar Land, where summer humidity is high and a still afternoon can feel like a wall of warm air, an air conditioner has two jobs: lower the temperature and pull moisture out of the air. It does the second job only by running long enough for the indoor coil to condense water, which then drains away. When a system is set up wrong, it cools in short bursts, never runs long enough to dehumidify, and the house ends up cold and clammy at the same time.
The two usual causes are oversized equipment and restricted airflow. An oversized system, again, is the sizing mistake. It hits setpoint fast, shuts off, and never gets to the moisture-removal phase. Restricted airflow is the other big one: a return grille that’s too small, a filter that’s too restrictive, or ductwork that was cut down during the installation. Both issues trace back to how the system was specified and installed, and both are correctable.
What you can do yourself before calling:
- Change the filter. A dirty or overly restrictive filter strangles airflow and causes coil icing and poor humidity control. Use the filter type the installer recommended; a high-MERV filter can actually hurt on a system with marginal ductwork.
- Move the fan to AUTO. If the thermostat fan is set to ON, it runs continuously and re-evaporates moisture off the coil between cycles. AUTO is the setting that dehumidifies.
- Check that supply registers are open and unobstructed. Furniture, rugs, and closed vanes all cut airflow.
- Note the humidity. A simple hygrometer near the thermostat gives you a number. If the house sits above roughly 55% humidity on a hot day with the AC running hard, that’s worth raising with your contractor.
In our experience, humidity complaints on new systems in Sugar Land almost always resolve with a proper load calculation and airflow verification, not with a new unit. If the original installer sized the system without a room-by-room load calculation, that’s the conversation to have. Ask them to confirm the sizing calculation and the measured airflow, and if they can’t, get a second opinion. A Rheem or Goodman system, properly sized and set up, will hold a comfortable humidity level through a Sugar Land summer without trouble. The brand matters far less than the commissioning.
Uneven Room Temperatures and Duct Leakage
One of the most common complaints after a new installation is a house where one bedroom is cold and another is warm, even though the same system serves both. On a brand-new install, this rarely means the equipment is struggling. It usually means the ductwork introduced a leak or a balancing problem during the job, or that the existing ducts simply weren’t compatible with the new equipment’s airflow.
When a contractor replaces an air conditioner, the existing duct system may not be a match for the new unit. A system that moves more air than the old ducts can handle will pressurize the supply side, force air out through every joint and seam, and leave the far rooms starved. A system that moves too little air through oversized ducts loses velocity, and the air arrives warm. Either way, some rooms get comfortable and others don’t. The installer should have flagged a duct compatibility issue before the job, and it’s fair to ask why they didn’t.
Things to check before you call:
- Do a register-by-register check. Hold your hand at each supply register. Are some blowing hard and others barely moving air? That tells you where the imbalance is.
- Look for obvious leaks. Where ducts pass through the attic or crawlspace, check for disconnected joints, torn flex duct, or gaps at the plenum. A duct that was cut during the install and never resealed is a common find.
- Confirm dampers are open. Many homes have balancing dampers in the branch ducts near the plenum. If they were closed during the install and never reopened, whole rooms stay warm.
- Check the return. A single undersized return starves the whole system. If the return grille looks small relative to the supply side, that’s a conversation for the contractor.
If a room is consistently several degrees warmer than the rest of the house, and the register is blowing weakly, that’s a duct or balancing problem, and it’s reasonable to ask the installer to verify airflow at the registers and check the duct system was left sealed and balanced. It’s also worth asking whether the return air was sized for the new equipment. If the answer is vague, get it in writing. Empty promises turn into excuses once the weather cools.
Questions to Ask Before Agreeing to a Service Call Charge
A system that’s still under installation warranty should not generate a surprise service charge for an installation defect. The trouble is that “under warranty” and “free to fix” aren’t the same thing in every contract. Labor coverage varies, and some contractors treat every callback as a service call. The fix is to ask the right questions before you agree to anyone coming out, and to get the answers in writing when you can.
Here are the questions we’d want a homeowner to ask, and the answers that should reassure you:
- “Is this visit covered under the installation warranty or is it a billable service call?” Get the answer before the technician is dispatched. If it’s billable, ask why, and ask what specifically makes it not an installation issue.
- “What’s the labor warranty on this installation, and how long does it run?” Equipment warranties are usually separate from labor warranties. Understand both.
- “Can you put the diagnosis in writing?” A written diagnosis, with the actual reading and the actual finding, protects you. “It’s running fine” is not a diagnosis.
- “What were the load calculation and the static pressure at commissioning?” If the installer can produce a room-by-room load calculation and a measured static pressure reading, that’s a serious shop. If those don’t exist, that’s worth knowing.
- “Was the refrigerant charge verified and is it documented?” On the original install, the charge should have been measured and recorded. Ask to see it.
- “If this turns out to be an installation defect, will the charge be refunded?” Get this in writing before you authorize any payment.
None of this is confrontational. A contractor with nothing to hide will answer these questions without hesitation, and the answers tell you a lot. If the response to “is this covered under warranty” is a long pause or a deflection, that’s information. You paid for a working system; the questions are how you make sure you got one.
Homeowner vs. Installer: Who Pays for What
The line between “your responsibility” and “the installer’s responsibility” is clearer than most homeowners expect, and knowing it prevents a lot of expensive arguing. Here’s the general breakdown, though the specifics always depend on your contract.
Generally the installer’s responsibility:
- Equipment sized correctly. If the system was sold without a room-by-room load calculation, or the calculation was clearly wrong, that’s an installation problem.
- Proper refrigerant charge and documented commissioning. The charge should have been verified and recorded at installation. If it wasn’t, that’s on the installer.
- Duct compatibility. If your existing ducts weren’t compatible with the new system, the installer should have flagged it before the job and given you options. Discovering “your ducts are too small” after the install is a failure to plan.
- Leaks from improperly sealed joints introduced during the install.
- Pad level and line routing that were left wrong at completion.
Generally the homeowner’s responsibility:
- Filter changes. This is the single most common cause of “my new AC stopped working,” and it’s on you. A clogged filter strangles a perfectly good system.
- Keeping the outdoor coil clear of debris, pollen, and vegetation. In Sugar Land, this is a regular chore.
- Thermostat operation. Make sure the fan is in AUTO and the cooling mode is actually selected. Sounds basic; we’ve seen it.
- Ductwork you knowingly accepted as-is. If the installer told you the ducts were marginal and you declined the upgrade, the resulting comfort gap is a shared reality.
The trick is to get the installer’s responsibilities documented before the job starts. If the contract spells out sizing, commissioning, and duct compatibility, you’re in a much better place if a symptom appears later. If it doesn’t, the questions above are your best protection.
When to Call a Professional
Some issues are homeowner territory: filters, registers, thermostats, and basic observation. But several situations should go straight to a trained technician, and it’s worth being honest about which are which. Refrigerant is a regulated substance, and handling it requires a licensed technician and specialized equipment. Any electrical work at the disconnect or the air handler needs a licensed professional. Ice on the coil or refrigerant lines, a compressor that won’t start, a burning smell, or any sound of electrical arcing is a stop-and-call situation. Likewise, if the pad has visibly settled, don’t try to shim it yourself. And if your stopwatch test shows a system that can’t hold setpoint after installation, get a qualified technician out to verify charge, airflow, and static pressure before the problem compounds.
If you’re in Sugar Land and want an honest diagnosis of a system that isn’t performing the way it should after installation, we’re glad to help. We work on nine major manufacturers, including Lennox, Goodman, Rheem, and York, and we don’t sell you a brand you don’t need. Our technicians have up to 15 years of experience, and our estimates are free. Delmar AC Repair offers free estimates in Sugar Land, call (833) 968-5064. We answer 24/7. Fast dispatch from 7am to 7pm, Sunday through Friday.
See the difference
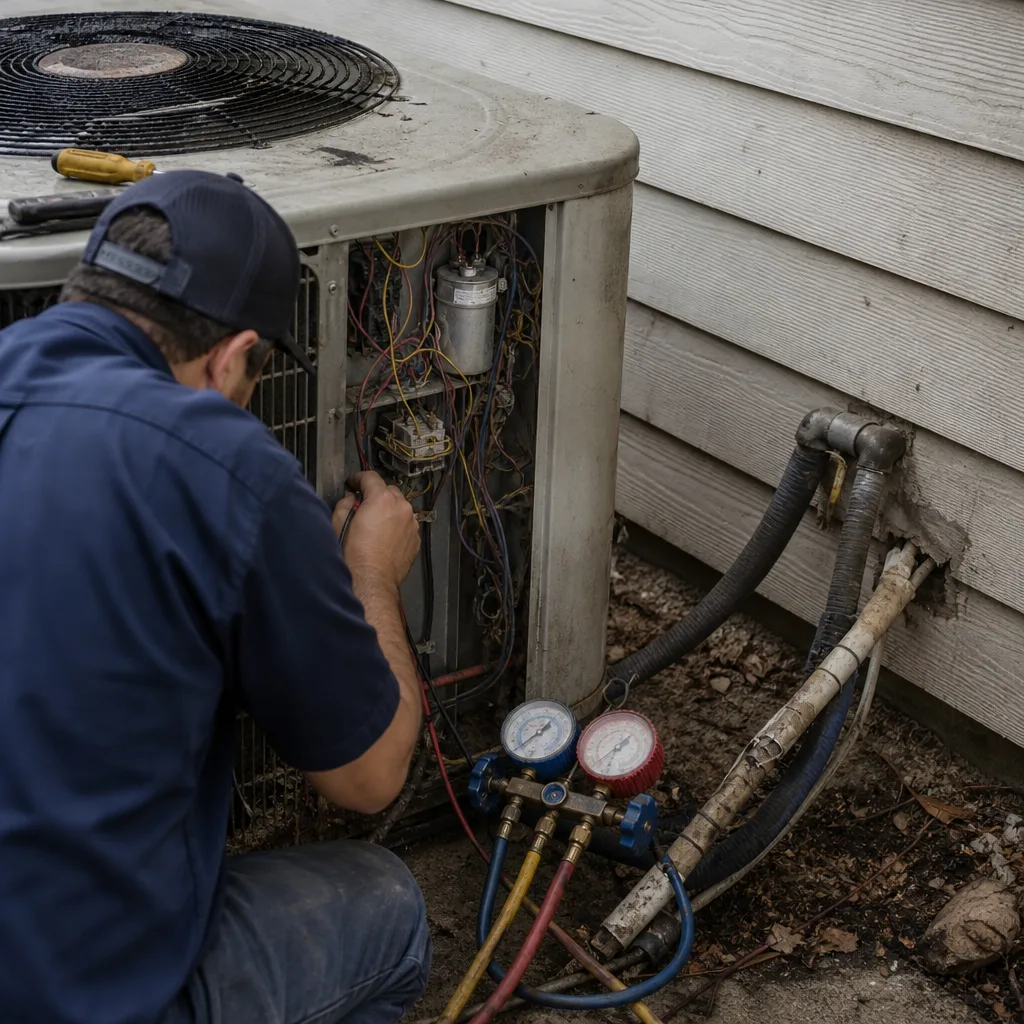 Before
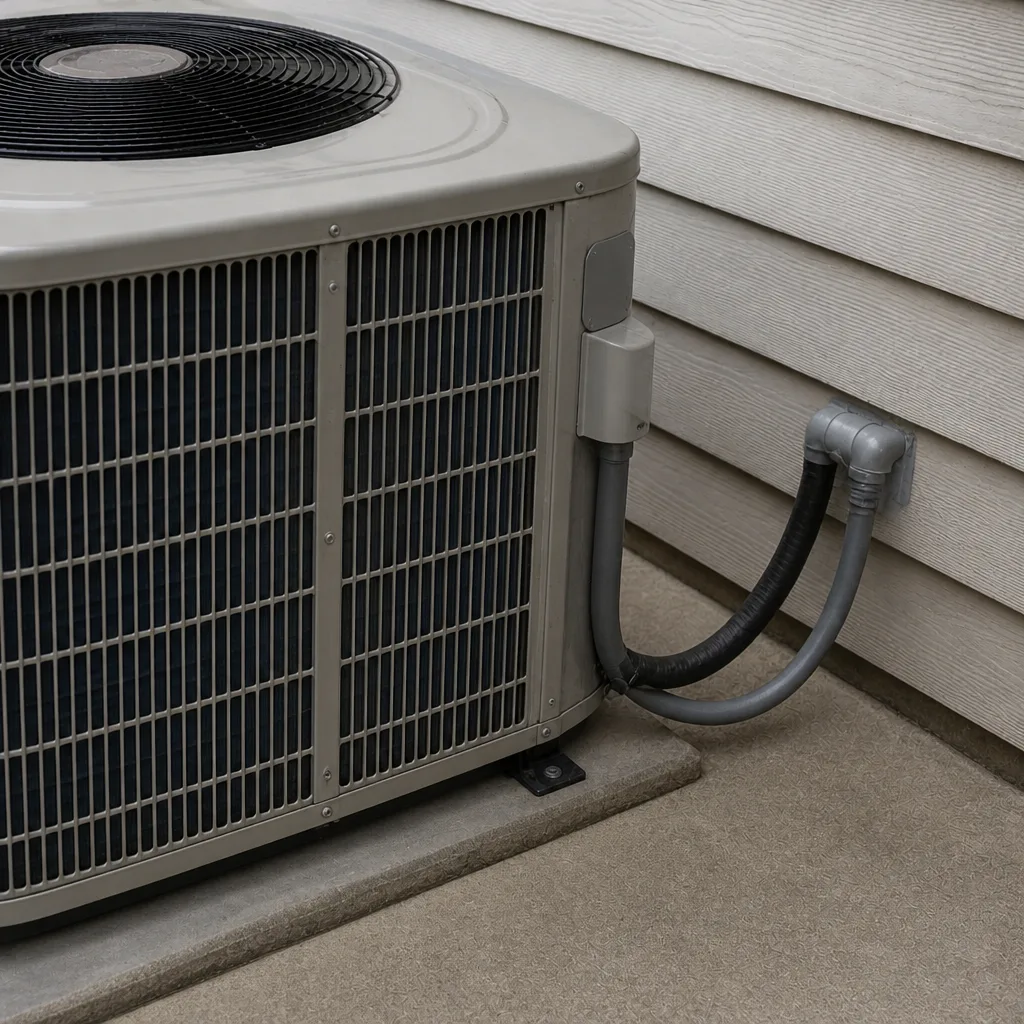 After
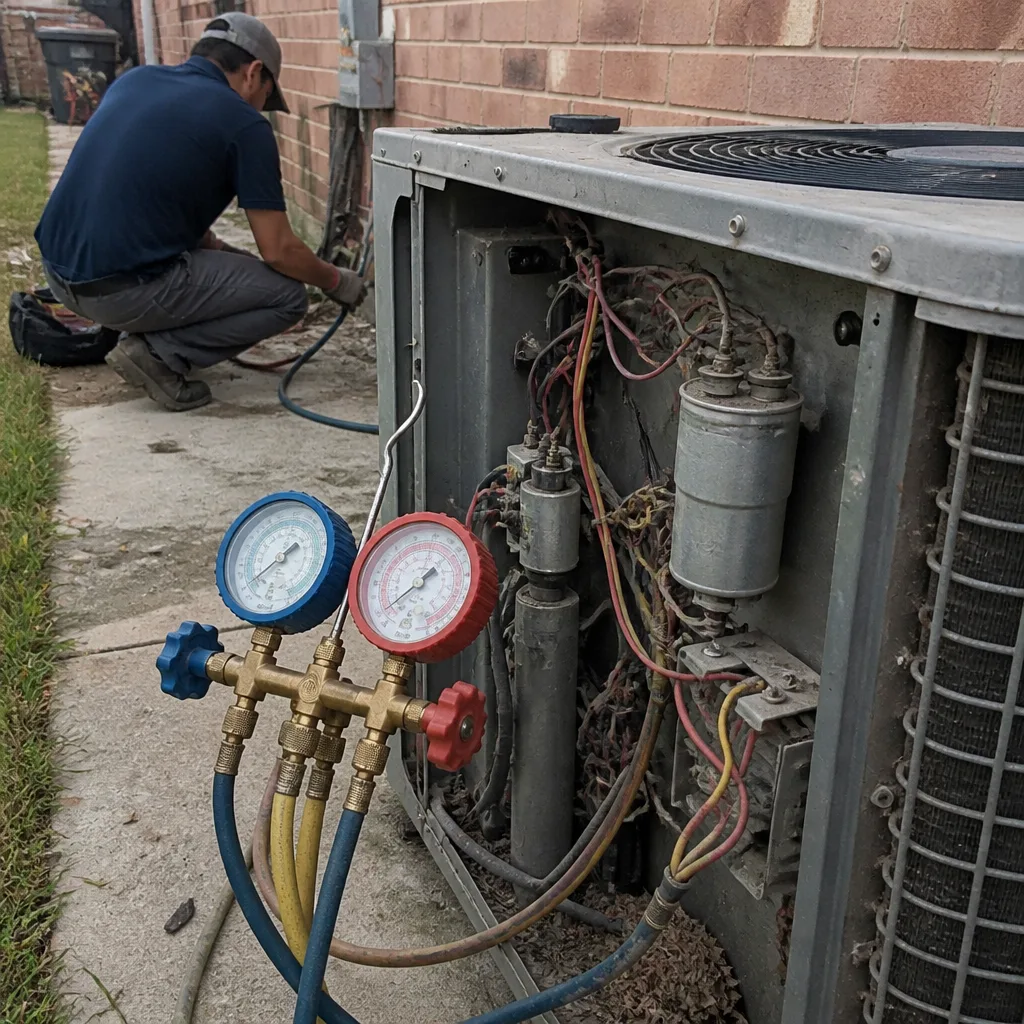 Before
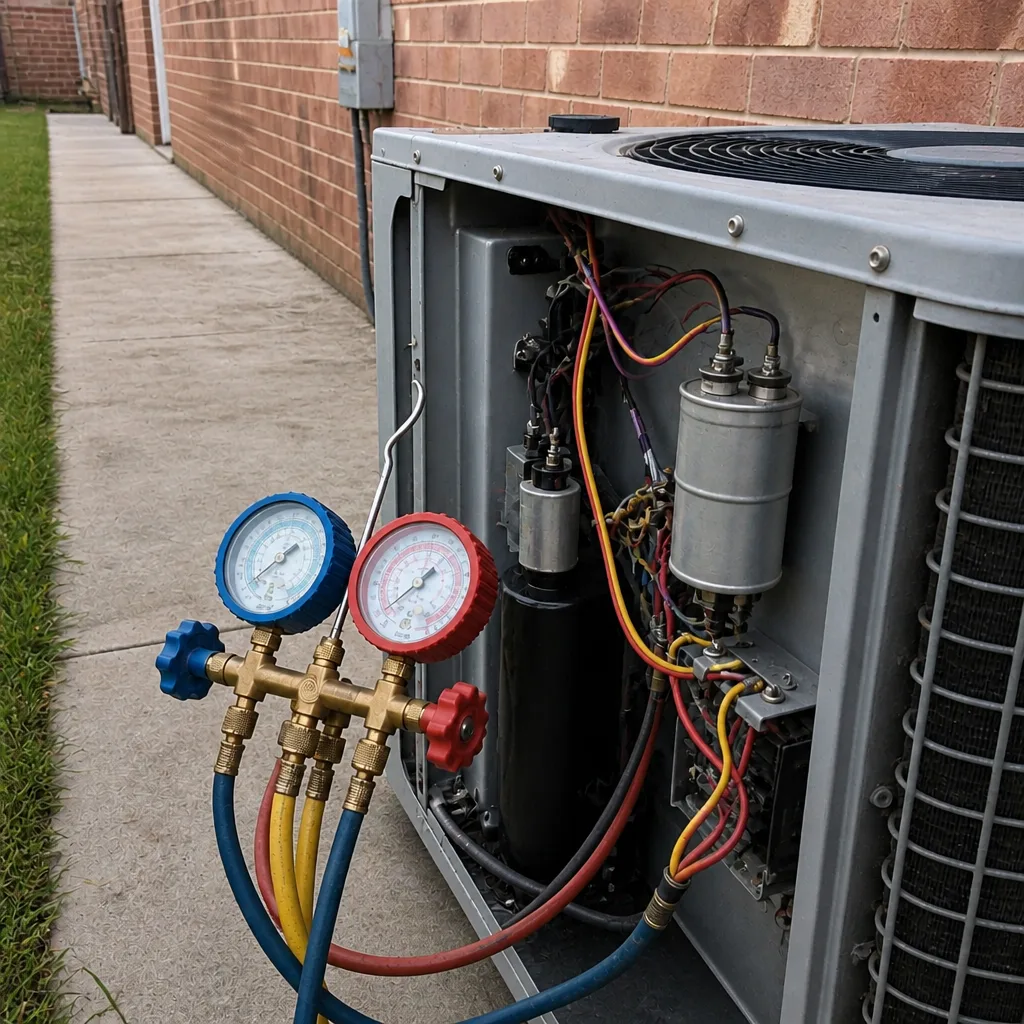 After
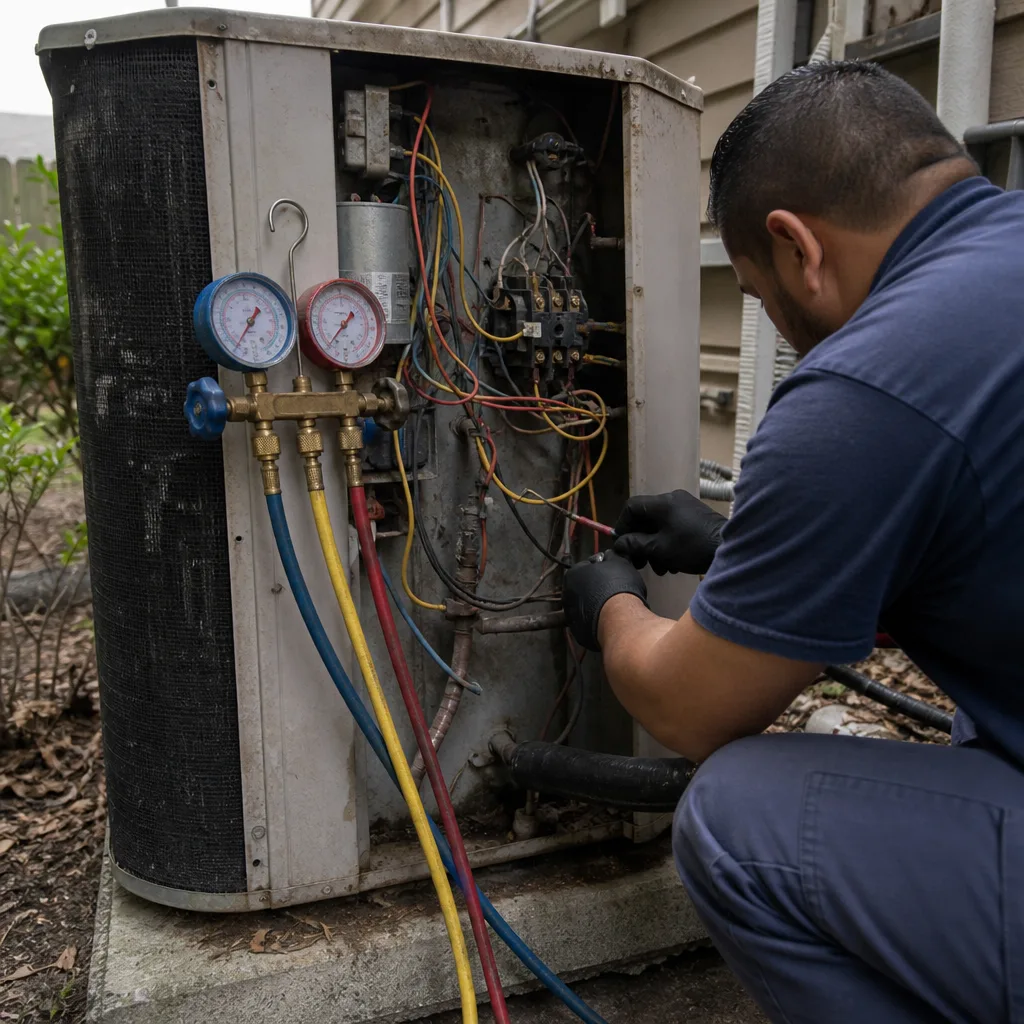 Before
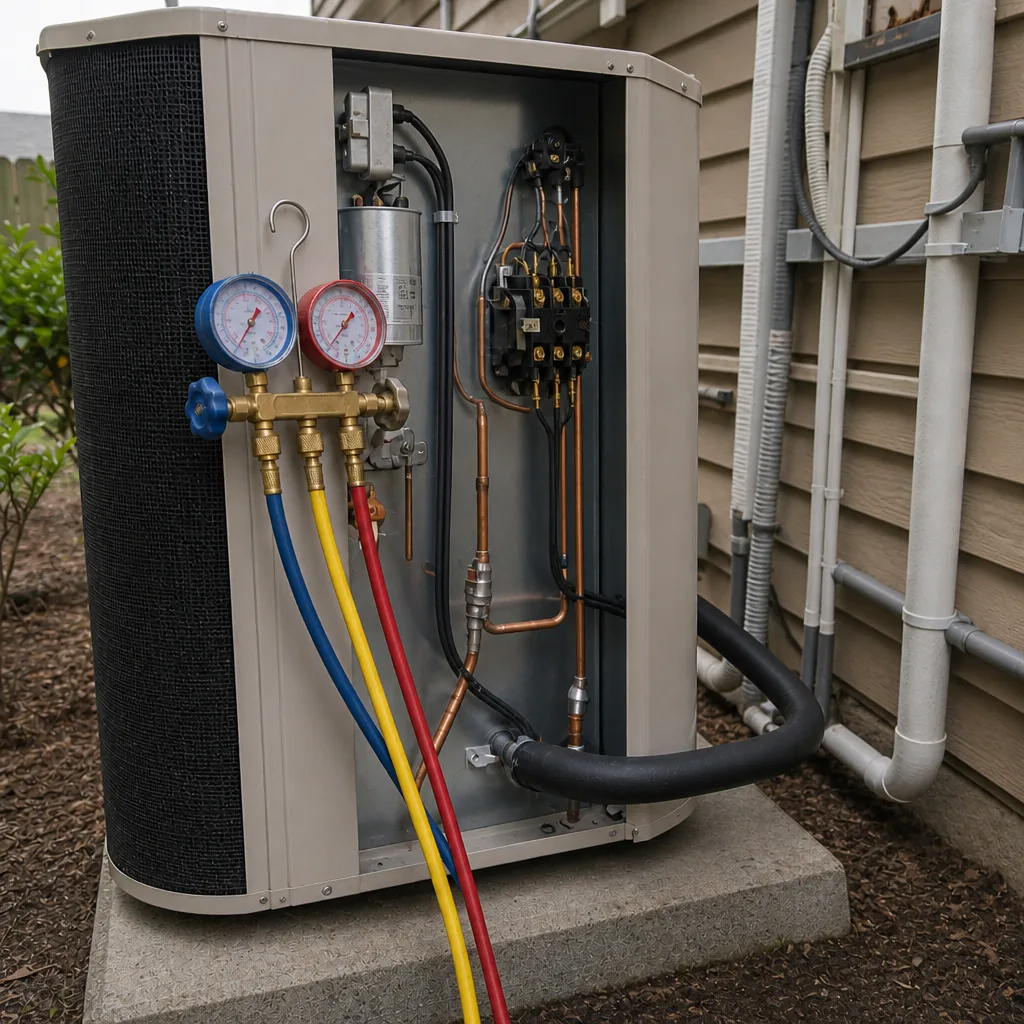 After
Common Mistakes to Avoid
- Assuming the brand is the problem. A new Lennox, Goodman, Rheem, or York system that underperforms almost always has an installation issue, not a manufacturing one. Chasing a warranty claim before checking the install wastes time.
- Accepting “it just needs to adjust” as an answer. A correctly installed system is ready to perform the day it’s commissioned. If it’s not comfortable in the first heat wave, it’s not “adjusting.”
- Sizing by square footage alone. Sugar Land homes vary a lot in insulation, window area, and sun exposure. A room-by-room load calculation is the only safe basis for equipment size. This is the most common installation mistake we find.
- Running a high-MERV filter on a system with marginal ductwork. It feels like you’re being thorough. You’re actually strangling airflow and inviting coil icing and humidity trouble.
- Ignoring a tilted condenser pad. Clay soil shifts in Sugar Land, and a leaning unit quietly grinds away at compressor life. Get it corrected early in the installation warranty period.
- Agreeing to a service call charge without confirming warranty status. Ask before anyone is dispatched. A written answer protects you.
- Letting sediment and pollen build up on the outdoor coil. In Sugar Land, a few months of neglect noticeably cuts efficiency. A gentle hose wash is one of the easiest things a homeowner can do.
Frequently Asked Questions
The most common causes are low refrigerant charge from improper commissioning, an oversized unit short-cycling, or duct leakage introduced during the installation. Run the stopwatch test above to gather evidence, then call the installer with the specific finding. If you want a second opinion, call (833) 968-5064. We answer 24/7. Fast dispatch from 7am to 7pm, Sunday through Friday – estimates are free.
Short cycling is the clearest sign: the unit runs for just a few minutes, shuts off, and repeats, and you notice temperature swings between rooms. Oversizing typically comes from sizing by square footage instead of a room-by-room load calculation. Ask your installer to show you the load calculation they used. If they can’t produce one, get a professional assessment before the equipment wears out prematurely.
High humidity usually means the system isn’t running long enough to pull moisture out of the air, which points to oversizing or restricted airflow. Check the filter first and confirm the thermostat fan is on AUTO. If the humidity persists above roughly 55% on a hot day, have the airflow and charge verified. Call (833) 968-5064 for a free estimate on a professional evaluation.
Yes. The expansive clay soil common to Sugar Land swells and shrinks with moisture, and that movement can tilt the concrete pad your condenser sits on. A leaning condenser loads the compressor unevenly and can strain the refrigerant lines over time. Have pad level checked during the installation warranty and correct it early. If you’re unsure whether your unit is level, a technician can confirm it quickly.
Installation defects are generally the installer’s responsibility, not a billable service call, but warranties vary. Ask before anyone is dispatched whether the visit is covered under the installation warranty or treated as a service call, and get the answer in writing. If the answer is vague, get a second opinion. Call (833) 968-5064 for a free estimate on an independent diagnosis.
Yes, you should check it monthly, especially in summer. Sugar Land’s pollen and dust load clogs filters faster than in drier climates, and a clogged filter is the most common cause of a new system that stops cooling. Replace it with the filter type your installer recommended rather than the highest MERV rating available. If performance still lags after a fresh filter, it’s time for a professional check.
The Bottom Line
If your new air conditioner isn’t performing the way it should in Sugar Land, the equipment is probably fine. The defect is almost always in the installation: undersized or oversized equipment, a charge that was never properly verified, ductwork that was compromised during the job, or a condenser pad settling into the clay. Learn to read the symptoms, run the stopwatch test, check the pad and the filter, and ask your installer sharp questions before you agree to any charge on a system that’s still under warranty. Diagnosed correctly the first time, most of these issues are corrected quickly, and your system does what you paid it to do.
If you’d like a straight assessment from a brand-agnostic team that works on your system no matter what name is on it, whether it’s Lennox, Goodman, Rheem, or York, we’re here to help. You can read more about Delmar AC Repair and how we approach installation and service, and if you also need heating work, our furnace repair team covers the other half of the year. We’re glad to serve homeowners throughout Sugar Land. Call (833) 968-5064. We answer 24/7. Fast dispatch from 7am to 7pm, Sunday through Friday – estimates are free.
Written by the team at Delmar AC Repair.